Learning how to sell at craft shows comes down to a repeatable sequence: pick a show that fits your product, get the permits your state actually requires, price your work so a live booth is profitable, build a display that stops foot traffic, and have a plan to ship every order the moment the show ends. Do those five things and your first event stops being a gamble and starts being a system you can run again. This guide walks a complete beginner through the whole arc, from application to the last shipping label, with the real numbers and honest tradeoffs most "just have fun and smile" advice leaves out.
Craft fairs, conventions, artist alley, and pop-up markets all reward the same preparation. The mistakes that sink new vendors are almost always upstream of the event itself: the wrong show, missing sales-tax setup, underpriced products, or no post-show fulfillment plan. Fix those before you load the car and the day itself gets a lot easier.
Step 1: Choose and Vet the Right Show
The single biggest lever when you're selling at conventions for the first time is choosing a show where your buyers already are. A gorgeous enamel-pin booth dies at a farmers market and thrives at a comic convention. Before you apply anywhere, define who buys your work, what they pay, and which events pull that crowd.
There are two broad show types:
- Open (first-come) shows accept anyone who pays the booth fee. Easier to get into, but quality and crowd vary wildly.
- Juried shows use a panel to select vendors on quality, originality, consistency, and fit with the show's theme. Harder to enter, but the audience is usually stronger and buys more.
Read a show before you commit. Ask past vendors about foot traffic and average sales, check whether the promoter actually markets the event, and look at the vendor mix — if 30 other people sell what you sell, that's a red flag. We break the full vetting process down in how to evaluate a craft show before you apply.
Reality check: a $250 booth at a busy, well-promoted show almost always beats a $40 table at a dead one. Cheap booth fees are not the same as cheap events.
Step 2: Apply and Get Accepted
For juried shows, the application is its own skill. Panels score photos, so professional product shots and a clear process description matter more than anything you say. Most juries also require that everything you sell is genuinely handmade by you, and they weigh quality, originality, and how well you fit the show.
Watch the money structure, because it trips up beginners:
| Fee type | Typical cost | When you pay | Refundable? |
|---|---|---|---|
| Application (jury) fee | $20–$50 | At time of applying | No — even if rejected |
| Booth / table fee | $20–$1,000+ | Only if accepted | Sometimes, with notice |
That non-refundable application fee is the price of being considered, not of a spot. Budget for a few rejections while you build a track record. For the full cost breakdown, see how much it costs to sell at a convention. Our deeper playbooks live at how to get into juried craft shows and, for the pop-culture world, how to get accepted to artist alley.
Step 3: Handle the Business Basics Before You Sell
This is the least glamorous and most-skipped step, and it's the one that can actually get you fined. In almost every state, selling tangible goods — even at a one-weekend fair — means you have to collect sales tax and often hold a permit before you make your first sale.
A few things every new vendor should sort out:
- Seller's permit / sales-tax license. Rules vary sharply by state. Avalara's state-by-state guide notes that many states require a permit before you sell. California treats short-term sellers as "temporary sellers" who need a permit once they make three or more sales in a 12-month period, per the CDTFA.
- Sales tax collection. You charge the combined state/county/local rate where the sale happens, then remit after the event. Rules are genuinely inconsistent — in some states the promoter remits the tax instead of you, and a few offer cheap single-event licenses — so verify every state you sell in.
- Hobby vs. business. The IRS presumes you're a business (not a hobby) if you profit in at least 3 of the last 5 years. Sole proprietors report craft income on Schedule C and can use an SSN or an EIN.
Shipyie can total your taxable sales per event to make remittance easier, but it's not tax software and doesn't file returns for you — that part is on you or your accountant.
Step 4: Price Your Handmade Work for a Live Booth
Underpricing is the quiet killer of a first craft show. The most common mistakes, per MSU Extension, are charging nothing for your own labor and forgetting overhead entirely.
Build your price from the ground up:
- Materials — everything consumed in the piece, including packaging.
- Labor — your time at a real wage. Many crafters value labor at roughly $12–$25/hour.
- Overhead — booth fees, tools, travel, shipping supplies, and card fees, spread across your inventory.
- Markup — then multiply. Common handmade markups run 100–200% over cost (a 2.2x–3.0x retail multiplier), landing you a 50–67% margin.
Craft-fair pricing is not online pricing. At a booth you carry the cost of the space and your time standing there, and shoppers expect round, easy numbers they can pay in cash. Price for the room, not for a marketplace listing. The full formula, with worked examples, is in how to price handmade items for craft shows.
Step 5: Plan Inventory and Product Mix
Bring too little and you sell out at noon; bring too much and you've hauled dead weight and tied up cash. The goal is a mix, not a pile.
A workable structure for most booths:
- Anchor products — your signature, higher-priced pieces that define the table.
- Mid-range — the bulk of your sales, the "I'll treat myself" tier.
- Impulse items — stickers, pins, small prints under $10 that convert browsers and clear change.
Estimate demand from comparable past shows or from other vendors' reports, then pad conservatively for a first event. Our sizing method is spelled out in how much inventory to bring to a craft show. This is also where pre-orders change the math: if a shopper wants a size or color you sold out of, you can capture the sale, collect their shipping address, and fulfill after the show instead of losing the money.
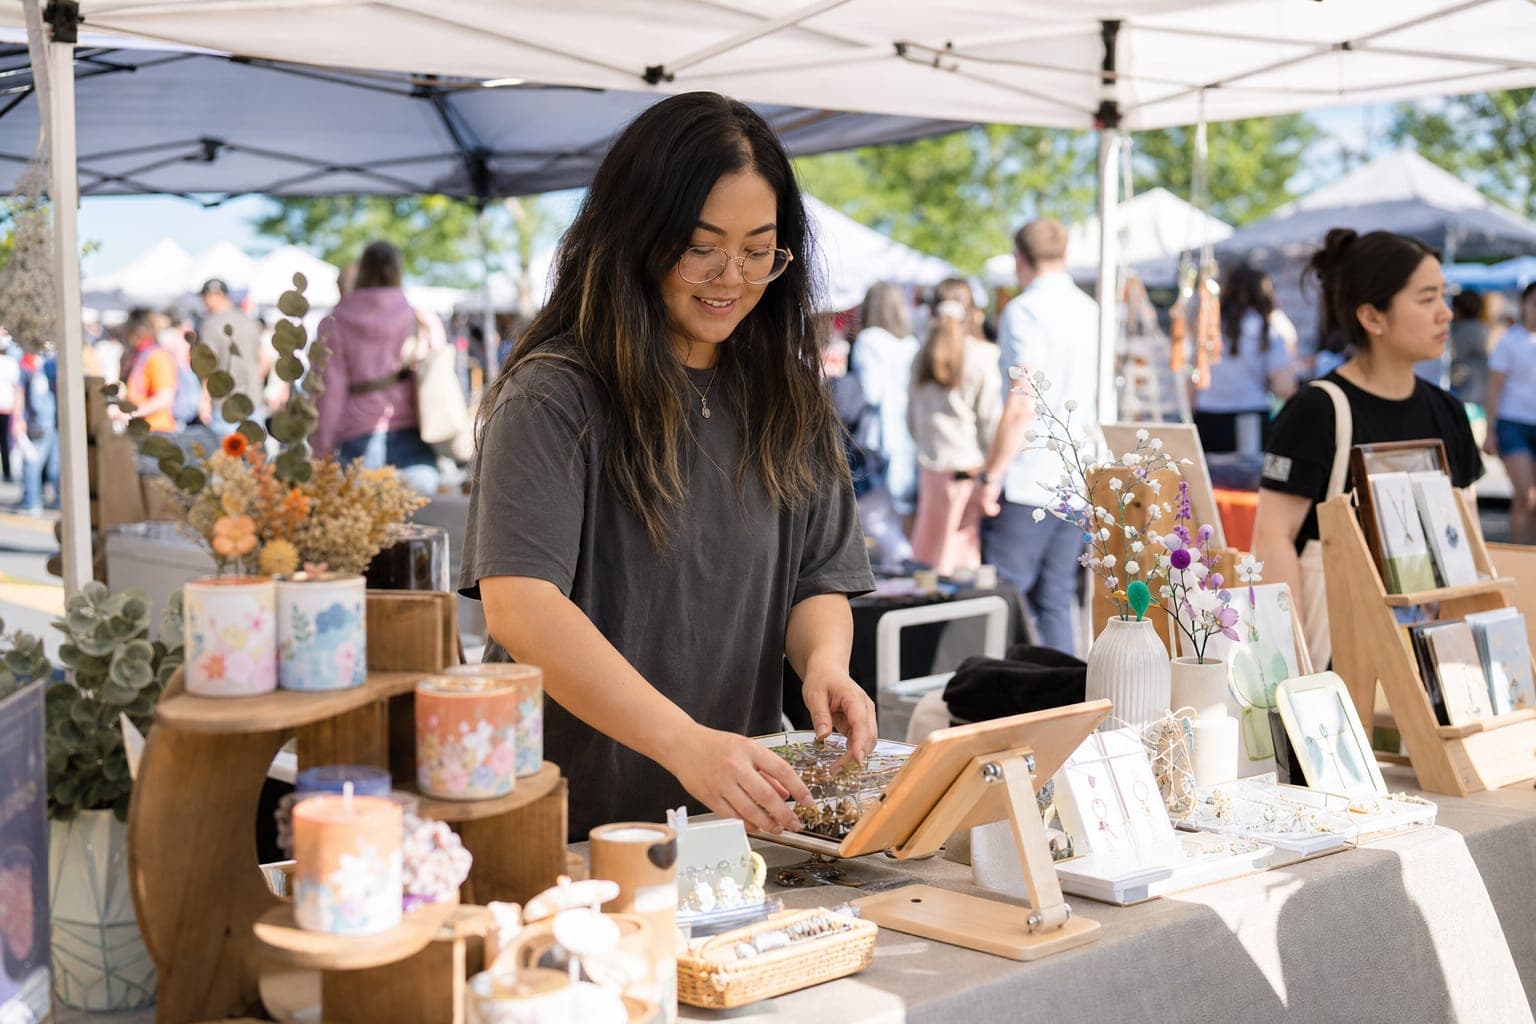
Step 6: Build a Booth That Actually Sells
You have seconds to stop someone walking a crowded aisle. A flat table at waist height with no signage reads as "amateur" and gets passed. The fixes are cheap and mechanical:
- Add height and levels. Risers, shelves, and a backdrop pull products into eyeline instead of leaving them flat.
- Create a clear focal point. One hero product or sign that reads from ten feet away.
- Light it and price it. Visible, legible prices remove friction; nobody wants to ask "how much?"
- Leave room to shop. A cramped table stops people from stepping in.
We collect proven layouts in convention booth display ideas that drive sales. For your very first event, work from a physical pop-up shop and craft show checklist of what to bring so you don't discover at 7 a.m. that you forgot tablecloth clamps, a float of cash, or a backup phone charger. Comic-con vendors have their own quirks — see the first-time comic con vendor checklist.
Step 7: Take Orders and Payments Fast
Every minute a buyer waits is a chance they walk. A slow checkout at a busy table is lost revenue, plain and simple. Modern booths speed this up in a few ways:
- A card reader tied to a POS so you're not fumbling with cash math.
- QR-code or kiosk ordering so customers browse and self-checkout on their own phone or a tablet you set out, which cuts the line during rushes.
- Address capture built into checkout for anything you'll ship later, so you never chase people for an address after the show.
Shipyie runs exactly this: a touch-screen kiosk or QR-code menu, Square POS sync so your in-person card sales flow in automatically, and shipping-address capture on any pre-order. It's not a payment processor itself — it integrates Square, and you keep Square's pass-through rates. Because convention halls have notoriously bad Wi-Fi, your ordering tool also has to keep working when the signal drops and sync back up when it returns.
Step 8: Ship Every Order After the Show
The show ending is not the finish line — it's the start of fulfillment. This is where a surprising number of vendors quietly lose money, either by mis-estimating postage or by hand-buying labels one at a time for 40 orders.
Two things matter most:
- Estimate postage before you set prices. If you charge a flat "$5 shipping" and USPS charges you $9, you eat the difference on every package.
- Batch your labels. Buying labels in bulk across USPS, UPS, and FedEx from one screen turns an all-day chore into an hour.
The workhorse service for booth orders is USPS Ground Advantage, which ships up to 70 lbs and delivers in 2–5 business days, per USPS. Watch the pricing environment, though: USPS has continued to raise Ground Advantage rates, so re-check your numbers each season rather than trusting last year's figures.
| Package size | Best-fit service | Why |
|---|---|---|
| Small, under 1 lb (pins, stickers, prints) | USPS Ground Advantage | Cheapest for light, non-urgent parcels |
| Medium, 1–10 lbs | Ground Advantage or UPS Ground | Compare by zone; rates cross over |
| Bulky / heavy, 10 lbs+ | UPS / FedEx Ground | Often beats USPS on weight |
Shipyie generates batch labels through Shippo at pass-through carrier rates with no markup, so you buy 40 labels in one pass and hand off the pile. The full workflow, from address cleanup to drop-off, is in the complete guide to post-convention shipping — usually the difference between fulfillment eating your margin and it running as a clean, hour-long task.
Don't Forget the Follow-Up
One quiet habit compounds across shows: capturing emails. A shopper who buys once at a booth is a repeat customer waiting to happen, but only if you can reach them. A simple sign-up sheet, a raffle, or a QR code turns one-time foot traffic into a list you own. We cover the tactics that actually work in how to build an email list at craft shows. Your best long-term revenue often comes from the people you already met, not the next application fee.
The Bottom Line
Selling at craft shows is not luck — it's a sequence you can run: choose a show that fits your buyers, get legal on permits and sales tax, price so the booth pays, build a display that stops traffic, take orders fast, and ship everything the moment the show ends. Nail the boring upstream steps — the right event, the permit, honest pricing, a shipping plan — and event day mostly takes care of itself. Start with one small, well-vetted show, treat it as a rehearsal, track what actually happened, and repeat. Tools like Shipyie exist to remove the friction in ordering and post-show shipping so you can spend the day selling instead of doing math, but the fundamentals above are what turn a nervous first weekend into a business you run on purpose.